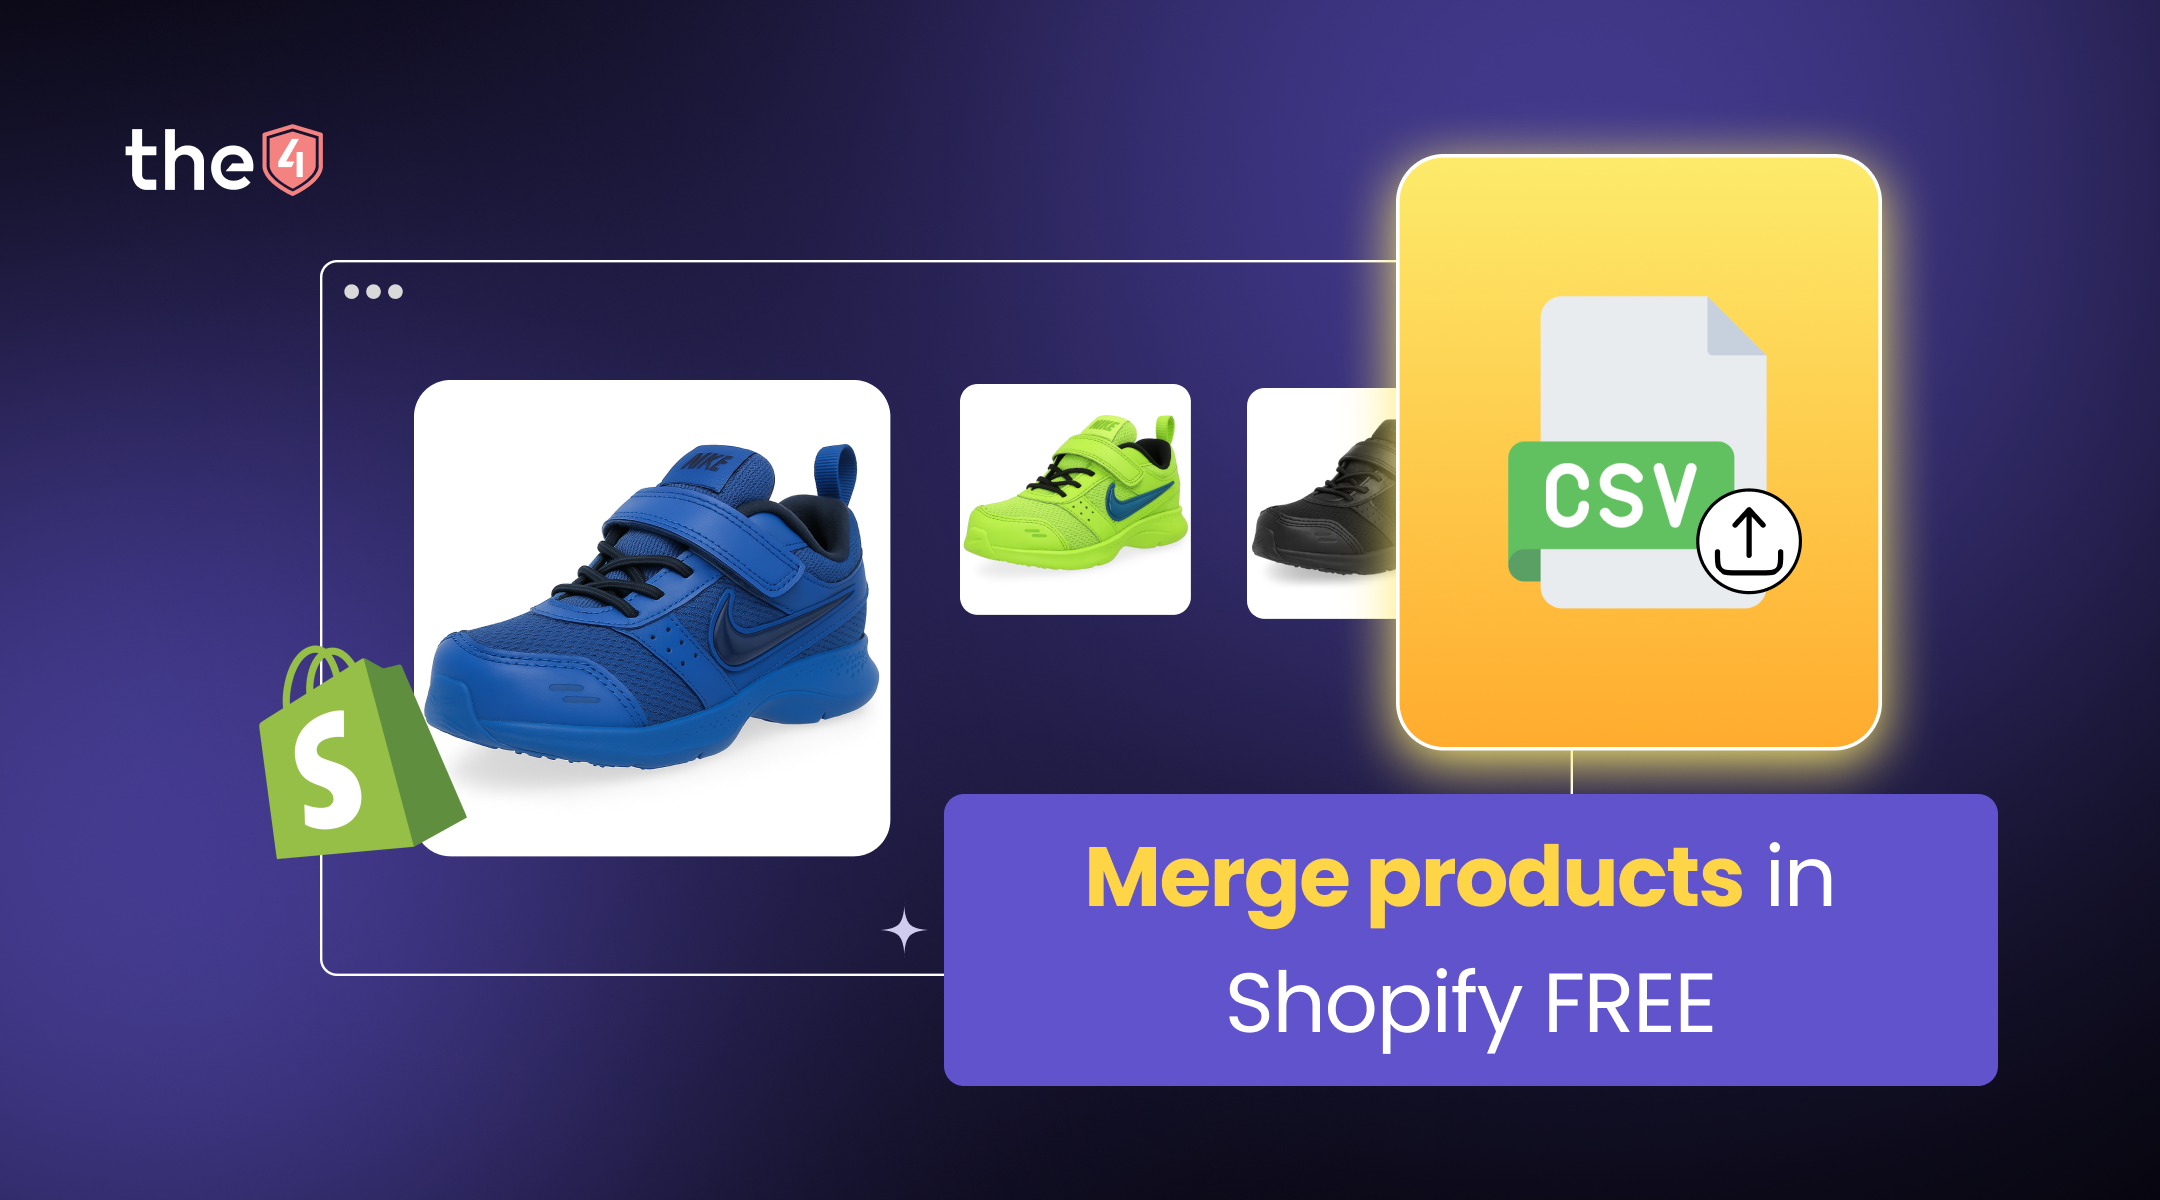


Merging duplicate products in Shopify into one page with variants dramatically improves user experience, SEO, and inventory accuracy - and you can do it for free without apps. This step-by-step guide shows both manual and CSV methods, explains Shopify's variant limits, and covers critical steps like 301 redirects, preserving reviews, and avoiding SEO loss. Perfect for growing stores aiming for a cleaner, more efficient catalog.
Is your Shopify store starting to feel... a little chaotic? Got three separate listings for the same handbag - just in different colors? Wondering if your customers are as confused as you are?
You're not alone. This kind of catalog clutter is a common issue for growing Shopify stores.
The good news? You don’t need an app. This guide shows you how to merge Shopify products for free - step by step.
Why You Need to Merging Products?
Merging products into one page improves UX, boosts SEO, simplifies inventory, and saves time. Customers get a smoother shopping experience, and your store avoids duplicate content penalties by consolidating product pages. It also reduces app costs and makes product updates easier—especially for growing Shopify stores.
Let's first discuss why product merging is a wise strategy, particularly for expanding Shopify stores, before moving on to how to do it.
1- Better Shopping Experience = More Sales

For example, you're shopping for a new pair of running shoes. You land on a product page for the "SpeedStrider 5000." You see it in blue. But you want to know if it comes in black or neon green. To find out, you have to go back to the main collection page and hunt for separate listings for "SpeedStrider 5000 - Black" and "SpeedStrider 5000 - Neon Green." It's clunky and inefficient.
Now, after merging, you land on a single page for the "SpeedStrider 5000." Right there, you see elegant little swatch buttons for "Blue," "Black," and "Neon Green." You click "Black," and the main product image instantly changes to the black shoe. You can select your size from a dropdown menu. It's seamless, intuitive, and all in one place.
When customers see all color or size options on one page - with swatches, dropdowns, and real-time image updates - they’re more likely to convert.
- Less clicking, more buying
- Cleaner, more professional UI
- Faster decisions = higher conversion rates
2- A Massive Boost For Your SEO
From my SEO perspective, making different pages for small changes in products is a big mistake you can avoid. Here’s why merging is a game-changer for your search rankings:
- Eliminates Duplicate Content: Having similar product pages confuses search engines and can hurt your rankings. Merging them helps you avoid penalties and keeps your SEO clean.
- Consolidates "Link Juice": By merging into one "master" product and redirecting the old URLs, you funnel all that SEO power into a single, authoritative page. This single page has a much higher chance of ranking for your target keywords.
- Improves Keyword Relevance: A single, comprehensive product page that includes all variants (e.g., "red," "blue," "green") becomes highly relevant for a wider range of search queries. Someone searching for a "green wool sweater" is more likely to find your single, powerful "Wool Sweater" page that contains a green variant than one of three weaker, separate pages.
3- Inventory Made Simple
If you've ever spent a frantic afternoon trying to figure out your true stock levels because you have the same SKU listed under three different product IDs, you know this pain intimately. Merging products brings all your inventory management under one roof.
- A Single Source of Truth: You will have one product—the master product—where you track the stock for every single variation. The SKU for the "Medium Blue T-Shirt" lives in one place and one place only.
- Reduces Human Error: When you only have to update stock in one location, the chance of making a mistake plummets. This is crucial for preventing overselling, which leads to unhappy customers and potential damage to your brand's reputation.
- Save hours on inventory management - critical for dropshippers syncing with suppliers
4- Simplified Product Management
Your work as a store owner never ends. Prices change, product descriptions need updating, and new photos are taken. Managing these updates across a dozen duplicate listings is tedious and inefficient.
With a merged product structure, you only have to:
- Update the main product description in one place.
- Adjust the price for all variants (or individual variants) on a single screen.
- Upload and manage your entire image gallery for the product line from one page.
This efficiency compounds over time, freeing you up to focus on what really matters: marketing, customer service, and growing your business.
5- Reduced App Dependencies (and Costs!)
The Shopify App Store is a fantastic resource, but it can also be a money pit of recurring monthly fees. There are plenty of apps that will gladly charge you for the service of merging products.
Understanding the Core Concept: Shopify Product Variants
In Shopify, a “product” is the main item, and “variants” are its different versions—like size, color, or material. Merging means turning separate product listings into variants under one master product, making your store cleaner and easier to manage. Just keep in mind: Shopify allows up to 3 options and 100 variants per product - enough for most stores.

In Shopify's Terminology, a "product" is the parent item. Let’s say, "The Classic Crewneck T-Shirt."
Then the variants of our "Classic Crewneck T-Shirt," could be:
- Size: Small, Medium, Large, X-Large
- Color: Red, White, Black, Navy
- Material: 100% Cotton, Cotton-Poly Blend
Each unique combination of these options creates a specific variant (e.g., Medium, Red, 100% Cotton). Each of these variants can have its own unique SKU, price, weight, inventory level, and even its own specific image.
The entire goal of merging products is to take what you currently have as separate, individual products and transform them into variants under a single, unified master product.
How to merge products in Shopify?
To merge a few products, use Shopify’s manual method - add variants to one product, transfer details, and set up 301 redirects. For larger catalogs, use CSV: assign the same handle, define variants, import, and redirect old URLs. Always double-check your data to avoid SEO and inventory issues
Method 1: Manual Product Merging in Shopify (Best for a Few Products)
Manual product merging in Shopify is best for under 10 items. Choose a master product, add variants, copy over key data, and set up 301 redirects to avoid SEO loss. Simple, free, and great for beginners.
- You're merging a very small number of products.
- You're new to Shopify and want to learn the ropes of the product admin.
- The products you're merging have simple, straightforward data.
Let's walk through this with a practical example.
Imagine we run a store called "Cozy Home Decor," and we have three separate product listings we want to merge:
1- "Ceramic Coffee Mug - Ocean Blue"
2- "Ceramic Coffee Mug - Forest Green"
3- "Ceramic Coffee Mug - Sunrise Orange"
Our goal is to create a single product called "Handmade Ceramic Coffee Mug" with three color variants.
Step-by-Step Guide to Manual Merging
First, you need to decide which of the existing products will become the "master" or "parent" product. A good strategy is to pick the one that has the best sales history, the most reviews, or the best-written description.
In our example, let's say the "Ocean Blue" mug is our bestseller. We'll choose this one as our master product.
Step 1- Go to your Shopify Admin > Products.

Step 2- Find and click on the product you've chosen as the master (in our case, "Ceramic Coffee Mug - Ocean Blue").

Step 3- Let's start by giving it a more general, master title. We'll change the Title from "Ceramic Coffee Mug - Ocean Blue" to simply "Handmade Ceramic Coffee Mug." This title will now apply to all variants.

Now, we'll create the structure for our new variants.
Step 4- Scroll down to the Options section on the product page. Since our blue mug didn't have any options before, this section might say, "This product has options, like size or color." Click the checkbox.
- An Option name box will appear. Type "Color".
- In the Option values box, type "Ocean Blue", then press Enter or a comma. Then type "Forest Green", and finally "Sunrise Orange".
As you type these values, you'll see Shopify automatically create the new variants below in the Variants section. It will create a variant for each color.

Step 5- Click Save. You've now officially created the variant structure for your master product!
Step 6: Transfer product data:
This is the most time-consuming part of the manual process, but it's critical. You need to transfer the unique information from the old, separate product listings into the newly created variants on your master product.
Open two browser tabs. In one, have your master product ("Handmade Ceramic Coffee Mug") open. In the other, open the product you're pulling data from.

Next, transfer parameters like the SKU, price (If the prices are different), Inventory, and Image to the merged product.
Repeat this entire process for the rest single products, like in this case: "Sunrise Orange" item.
Step 7: Click "..." (More actions) and select Delete products. Shopify will ask you to confirm. Be sure you've copied everything you need before you do this! Deleting a product is permanent.
Step 8: Set Up 301 Redirects
I'm putting this in all caps for a reason. DO NOT SKIP THIS STEP. If you simply delete the old products, you'll lose any SEO value they had, and any customer who bookmarked the old page or clicks a link from an old social media post will land on a "404 Not Found" error page. This is bad for SEO and even worse for user experience.
A 301 redirect is a forever rule that tells the net and search things, "Hey, the old spot has moved. The new, forever spot is this way." This move takes people to the new main product page and, very important, moves most of the SEO strength from the old link to the new one.
Here’s how to set one up in Shopify:
- Before you delete the old product, go to its product page and copy the last part of its URL from the address bar. This is called the "URL handle." It will look something like ceramic-coffee-mug-forest-green.

- Now, go to your Shopify Admin > Content >Menu.

Just above the "Menus" section, you'll see a small link that says URL Redirects. Click it.
- Click the Add URL redirect button in the top right.

In the Redirect from box, paste the old URL handle you copied. It should look like /products/ceramic-coffee-mug-forest-green.
In the Redirect to box, type or paste the URL of your new master product. It will be something like /products/handmade-ceramic-mug.
- Click Save redirect.
Repeat this for every single product you deleted. Yes, it's tedious. But I promise you, as an SEO expert, this single action will save you from so much potential ranking loss and customer frustration. It's the professional way to do things.
And that's it! You've manually and freely merged your products. Now, let's look at a method for when you have more than just a few to deal with.
Method 2: Bulk Merging Products Using Shopify CSV Import/Export (For Many Products)
If you’re dealing with more than 10-15 products, bulk merging with Shopify’s CSV file is the fastest free method. Just export your products, assign a shared handle to merge them into one parent product, and re-import the file. Pay close attention to SKUs, options, and variant images- and always back up your original CSV to avoid costly errors.

This is where you need to learn the most powerful, scalable, and genuinely free method for product management in Shopify: using CSV (Comma-Separated Values) files.
When to Use This Method:
- You need to merge a large number of products (anything more than 10-15).
- You are comfortable working with spreadsheets like Excel or Google Sheets.
- You want a scalable, repeatable process for future catalog cleanups.
Step-by-Step Guide to CSV Merging
Let's continue with our "Cozy Home Decor" store. This time, imagine we have a bigger problem. We have 20 different listings for "Scented Candles" (e.g., "Vanilla Bean Scented Candle," "Lavender Fields Scented Candle," etc.), and we want to merge them all into a single product called "Artisan Scented Candle" with "Scent" as the variant option.
Step 1: Go to your Shopify Admin > Products.

You can either select the specific products you want to merge by checking the boxes next to them, or you can export all your products. For a big cleanup, it's often easier to export everything.
Step 2: Click the Export button at the top.

In the pop-up, choose which products to export (e.g., "All products" or "Selected products").
For the format, choose "Plain CSV file". This is important as some spreadsheet programs have trouble with the other format.
Step 3: Click Export products. Shopify will email you a link to download your CSV file.
Step 4: This is the most crucial part of the learning curve. Open your downloaded CSV file in a spreadsheet program like Microsoft Excel, Google Sheets, or Apple Numbers. You will see a lot of columns. Don't be intimidated! We only need to focus on a few key columns to achieve our merging goal.
Here's a breakdown of the columns that matter most for merging:
|
Column Name |
What It Means |
Why It's Important for Merging |
|
Handle |
This is the unique, URL-friendly name for a product. Example: artisan-scented-candle |
This is the magic key. To merge products, you give them all the exact same Handle. This tells Shopify, "All these rows belong to the same parent product." |
|
Title |
The main product title that customers see. |
For a merged product, you only put the title in the row for the first variant. All subsequent rows for that same product (with the same Handle) should have this cell left blank. |
|
Option1 Name |
The name of your first variant option. Example: "Color" or "Size" or, in our case, "Scent". |
This defines what your variants are. It should be the same for all variants of a single product. |
|
Option1 Value |
The specific value for that option. Example: "Red" or "Medium" or "Vanilla Bean". |
This is what distinguishes each variant from the others. Each variant gets its own unique value here. |
|
Variant SKU |
The unique Stock Keeping Unit for each specific variant. |
Essential for accurate inventory tracking. Every single variant row must have a unique SKU. |
|
Variant Price |
The price for that specific variant. |
Allows you to set different prices for different variants if needed. |
|
Variant Image |
The URL of the image associated with that specific variant. |
This is how you link a specific picture to a variant (e.g., the picture of the vanilla candle to the "Vanilla Bean" variant). |
|
Body (HTML) |
The main product description. |
Like the Title, this should only be filled in for the first variant row of a product. |
Now, we'll perform the digital surgery. This requires careful copy-pasting and attention to detail.
1. Identify the Master Handle: First, decide on the Handle for your new master product. Let's choose an artisan-scented candle. Find the row for the product you want to be the "first" variant (e.g., the "Vanilla Bean Scented Candle"). In the Handle column for that row, type artisan-scented-candle.
2. Assign the Master Title: In that same row, change the Title column to "Artisan Scented Candle".
3. Define the Option: In that same row, go to the Option1 Name column and type "Scent". Then, in the Option 1 Value column, make sure it says "Vanilla Bean".
4. Create the Variants: Now, find the row for the next candle you want to merge, say, "Lavender Fields Scented Candle."
- Copy the Handle: Go to the Handle column for the lavender candle row and replace its current handle (lavender-fields-scented-candle) with the master handle: artisan-scented-candle.
- Delete the Title: This is critical. In the lavender candle's row, delete the text from the Title column. This cell must be blank. This tells Shopify it's a variant of the product above it, not a new product.
- Define the Variant Option: In the lavender candle's row, go to the Option1 Name column and type "Scent". In the Option1 Value column, type "Lavender Fields".
- Keep Data Consistent: Make sure the Variant SKU, Variant Price, and Variant Image URL for this row are correct for the lavender candle.
5. Repeat for All Products: Continue this process for all 20 candles. Find each candle's row, change its Handle to artisan-scented-candle, delete its Title, and fill in the Option1 Name ("Scent") and the correct Option1 Value (e.g., "Cinnamon Spice," "Ocean Breeze," etc.).
When you are finished, your spreadsheet should look something like this (simplified for clarity):
|
Handle |
Title |
Option1 Name |
Option1 Value |
Variant SKU |
|
artisan-scented-candle |
Artisan Scented Candle |
Scent |
Vanilla Bean |
SKUCAN01 |
|
artisan-scented-candle |
Scent |
Lavender Fields |
SKUCAN02 |
|
|
artisan-scented-candle |
Scent |
Cinnamon Spice |
SKUCAN03 |
|
|
artisan-scented-candle |
Scent |
Ocean Breeze |
SKUCAN04 |
|
|
(...and so on...) |
Once your CSV file is perfectly prepared and you've double-checked your work:
- Save your modified CSV file.
- Go to your Shopify Admin > Products.
- Click the Import button. In the "Import products by CSV" pop-up, click Add file and select your modified CSV file.

- CRITICAL CHECKBOX: Make sure you tick the box that says "Overwrite any current products that have the same handle." This tells Shopify to update the products based on your changes, rather than creating new ones.
- Click Upload and preview. Shopify will show you a preview of what it's about to do. If it looks correct (e.g., "You're about to import 1 product with 20 variants"), then proceed.
- Click Import products.
The import process can take some time if you have a large file. Shopify will email you when it's complete.
Once the import is finished, the real work is done, but you still need to perform quality control.
- Verify the Merged Product if it has enough variants, each with the correct SKU, price, and image. Plus, check the live product page to make sure it looks and functions as expected.
- Delete Original Products (If Necessary): The import should overwrite existing products, but duplicates may remain. Review your product list and remove any unmerged listings.
- Set Up 301 Redirects. It's tedious but essential for your SEO health.
Warning: A small mistake in your CSV file can cause big problems in your store. ALWAYS, ALWAYS, ALWAYS back up your product data by exporting a clean, original copy of your product's CSV before you start making changes.
Critical Considerations for Free Merging Methods
When merging products in Shopify, don't forget critical follow-ups: set up 301 redirects to avoid SEO loss, update internal links, and assign unique SKUs to each variant. Be aware that sales history and reviews won’t transfer- export them if needed. Also, ensure each variant has the correct image, especially when using the CSV method.
Whether you merge manually or via CSV, the process doesn't end when the variants are created. You're making fundamental changes to your store's data structure, and you need to understand the ripple effects. Think of this as the "post-op recovery" phase.
1. SEO & 301 Redirects: A Deeper Dive

Forgetting to implement 301 redirects is the single most damaging mistake you can make in this process.
- Why it Matters: When you delete a product page, its URL becomes a dead end. Any search engine ranking it had, any link to it from another blog, any pin on Pinterest—all of that now leads to a 404 error. This signals to Google that your site is poorly maintained, which can harm your rankings.
- How to Be Thorough: Create a simple spreadsheet. In column A, list every single old product URL you are deleting. In column B, paste the new master product URL. As you create each 301 redirect in Shopify's navigation section, mark it off. Don't stop until every URL in column A is accounted for.
- Beyond Redirects - Fixing Internal Links: Don't forget to update any links within your own site. Did you link to the "Forest Green Mug" from a blog post about "Our Favorite Winter Products"? You need to go into that blog post and update the link to point to the new main "Handmade Ceramic Coffee Mug" page.
2. Inventory Management Post-Merge

The goal of merging is to simplify inventory, but the transition period requires care.
- The Golden Rule of SKUs: Your inventory system lives and dies by the SKU. Ensure that every single variant in your newly merged product has a unique SKU that matches what's in your warehouse (or your dropshipper's system).
- Double-Check Your Counts: After a CSV import, it's wise to do a spot check. Manually verify the inventory count for a few of the new variants in your Shopify admin against your actual physical stock to ensure the data transferred correctly.
3. Sales History & Analytics: The Unfortunate Truth
This is a tough pill to swallow, but it's important to understand: sales history is tied to Shopify's internal Product ID, not the SKU or handle.
When you merge products by creating variants under a new master product (or by effectively turning one product into the master and deleting the others), the sales history from the deleted products will not transfer. The "Ocean Blue" mug in our first example will retain its sales history, but the history for the "Forest Green" and "Sunrise Orange" mugs will be lost from Shopify's analytics once those products are deleted.
- How to Manage Expectations: You need to accept that your historical data for those specific items will be fragmented. Before deleting, you can export your orders and sales reports to keep an external record. For future reporting, all sales will be consolidated under the new master product, which is a long-term win for cleaner analytics.
4. Product Reviews: Don't Leave Them Behind!
Like sales history, product reviews are also tied to the original Product ID. If the "Sunrise Orange" mug had 15 glowing five-star reviews, they would disappear when you delete that product. Losing that social proof is a huge blow.

Here's how to handle it:
- Use a Review App: The best solution is to use a dedicated product review app (like Judge.me, Loox, or Yotpo). Most of these apps allow you to easily export reviews from one product and import them to another. You would simply export the reviews from the old products before deleting them and then import them into your new master product.
- The Manual Method: If you don't use a review app, the only free method is to copy and paste manually. You can go to the old product pages, copy the text of the best reviews, and add them to the product description of your new master product as testimonials (e.g., in a blockquote). It's not as authentic as a real review widget, but it's better than losing them entirely.
5. Image Management: Assigning Images Correctly
A picture is worth a thousand words, especially in eCommerce. You must ensure the correct image is associated with each variant.
- In the Manual Method: As we covered, you do this by clicking the image icon next to each variant in the Shopify admin and selecting the corresponding photo.
- In the CSV Method: You do this using the Variant Image column. You need to upload your images to Shopify Admin > Settings > Files first. Shopify will give each uploaded image a unique URL. You then copy that specific image URL and paste it into the Variant Image column for the corresponding variant row in your CSV. It's tedious, but it's the only way to do it in bulk.
When (Limited) Free Apps Might Be an Option (And When They're Not)
Some freemium apps like Merges AI can automate product merging and set up 301 redirects, saving time - but their free plans are very limited, often just one-time use (e.g., 25 merge credits). They’re helpful for small, one-off cleanups but not ideal for ongoing needs without paying. Also, Shopify’s Combined Listings app is only available to Plus and Enterprise users, so it's not a free option for most store owners.
I know the title of this article is about doing this for free, and the methods above are truly free—they cost you zero dollars. However, in the spirit of being comprehensive, let's talk about the "freemium" app landscape. Some apps can help automate this process, but you must understand their limitations.
These apps are often a trade-off: they save you time and manual effort, but they come with strict usage caps designed to get you to upgrade to a paid plan.
A good example is an app like Merges AI.

- What It Does: This app uses AI to analyze your products and automatically merge them, creating the variants, unifying descriptions, and—crucially—setting up the 301 redirects for you. A huge benefit is that it creates native Shopify products, meaning that if you ever uninstall the app, the merged products remain.
- The "Free" Catch: Their free plan is typically something like "25 free merge credits (One Time)." This means you can merge 25 products into one (or a similar combination) once, and that's it. It's a trial, not a sustainable free solution. It's perfect if you have one single, one-time cleanup job of 25 products or fewer. For anything more, or for ongoing needs, you'll have to pay.
Another option: Shopify's "Combined Listings" App
You may come across an app called "Combined Listings" and see that Shopify makes it. You might think, "Perfect, a free, official solution!"
However, The Shopify Combined Listings app is only available for Shopify Plus and Enterprise plans.

For the vast majority of merchants- our target audience of small to medium-sized businesses- this is not a free solution and is not accessible. It's important to know this so you don't waste time looking for a feature that isn't available on your plan.
Beyond Merging: How Can You Maintain a Clean Catalog Going Forward?
To keep your Shopify catalog clean long-term, build products with variants from the start and avoid creating separate listings. Schedule quick quarterly audits to catch duplicates early. Use collections to organize your store visually while letting variants handle product options.
Merging your products is like a deep clean for your store. But to keep it tidy, you need to adopt good habits moving forward.
1. Be Proactive with Variants: From now on, whenever you add a new product that you know will have options, create it with variants from the very beginning. Don't take the "I'll just create a separate product for now" shortcut. You know where that leads. Do it right the first time.
2. Schedule Regular Catalog Audits: Set a calendar reminder once a quarter to do a quick review of your product catalog. Look for stray duplicates, inconsistent naming, or opportunities to merge products you may have added in a hurry. A little regular maintenance prevents a massive cleanup project down the road.
3. Leverage Collections Effectively: Use Shopify's collections to organize your products for customers. Even after merging all your candles into one product, you can still include that master product in collections like "Best Sellers," "Gifts for Mom," or "Winter Scents." Collections are for merchandising; variants are for product options. Use both to their full potential.
Conclusion: A Streamlined Store Awaits!
By following this free guide, you are doing far more than just tidying up. You are strategically restructuring your store to perform better in the modern, AI-driven search landscape. You're creating a better experience for your customers, building a stronger SEO foundation, and simplifying your workflow. The result is a more authoritative, profitable, and future-proof business.
Frequently Asked Questions (FAQ)
Q: Can I merge products with different titles?
A: Absolutely! That's the whole point. You'll choose one of the products to become the "master" and give it a new, more general title. For example, "Red Summer Dress" and "Blue Summer Dress" can be merged into a master product titled "The Perfect Summer Dress." The old titles simply go away, and "Red" and "Blue" become values for the "Color" variant option.
Q: Will merging products affect my inventory count?
A: It will absolutely affect your inventory count, but that's the goal! Instead of having your stock fragmented across multiple product pages, you are consolidating it into one single source of truth. The key is being meticulous during the transfer process. Whether you do it manually or via CSV, you must ensure that the inventory number from the old product is accurately assigned to its new variant. If you do this correctly, your final, total inventory will be accurate and much easier to track. Always double-check your numbers before and after the merge.
Q: How do I handle product reviews after merging?
A: I know this is a big concern. The most robust and professional solution is to use a dedicated product review app (like those mentioned earlier). Their export/import feature is designed for exactly this scenario. If you're committed to a $0 budget, the only way is to manually copy the review text and customer name from the old, soon-to-be-deleted product pages. You can then paste this text into a "Testimonials" section in the main description of your new merged product. It's not perfect, but it preserves the valuable social proof.
Q: What if I have more than 3 product options?
A: This is where you hit the native limits of Shopify. The free methods described in this guide are built for products that fall within Shopify's limit of 3 options and 100 total variants. If your products are more complex than that, you will unfortunately need to look towards a paid app solution. There are apps in the Shopify App Store specifically designed to handle complex product options and customizations that go beyond the native capabilities.
Q: Is there any risk to my live store during this process?
A: Yes, there is always some risk when making structural changes to your store, which is why caution is paramount. Here’s your safety checklist:
1. Always Backup: Before you start any CSV-based merge, export a clean, untouched copy of your products and save it as a backup. If you make a catastrophic error, you can re-import this original file to restore your products.
2. Work on a Small Batch First: Don't try to merge 500 products on your first attempt with a CSV. Test the process with a small, manageable batch of 2-3 products first. Once you've completed a small merge and verified the result, you can proceed with confidence to larger batches.
3. Work During Off-Peak Hours: If you're nervous, perform these changes late at night or during a time when your store has the least amount of traffic. This minimizes the chance of a customer encountering a strange issue while you're in the middle of the process.